- Free Estimates


Yellowed trim is one of those subtle details that can make even a freshly painted room feel dated. It’s especially common in older homes where oil-based paints and years of exposure to smoke, grease, or sunlight have taken their toll. While it might seem like a minor cosmetic issue, yellowed trim can clash with modern décor and dull the overall look of a space.
Here are five key insights on why trim yellows and how to repaint it the right way for a clean, lasting finish.
✔ Yellowed trim in older homes is often caused by oil-based paint oxidation, lack of sunlight, or indoor pollutants.
✔ Proper surface prep—including cleaning, sanding, and priming—is essential for lasting interior trim painting.
✔ Water-based enamel is the best paint for interior trim due to its durability and resistance to yellowing.
✔ Trim in moisture-prone areas needs mildew-resistant products and proper ventilation to prevent damage.
✔ Professionals offer cleaner lines, better materials, and longer-lasting results for interior woodwork painting.
✔ Matching trim paint to wall color can enhance contrast, add warmth, or create seamless visual flow.
✔ Hiring a professional for painting door and window trim ensures precise application and a polished finish.
Oil-based paint was once the gold standard for trim because it offered a durable, high-gloss finish. However, it has a major downside: it yellows over time due to oxidation, especially in low-light rooms like hallways, dining rooms, and basements. This aging process can leave door frames and window casings looking dingy, even if they were once bright white.
Trim that sits in darker corners of the home—such as behind doors, under stairwells, or along shadowed hallways—often yellows faster. That’s because oil-based paints rely on UV light to maintain their brightness. Without that exposure, chemical changes in the paint cause a dull, yellow tint to form over time.
Trim in older homes is often exposed to decades of airborne residue—think cigarette smoke, fireplace soot, or cooking oils. Over time, these pollutants settle onto surfaces and slowly stain them with a yellow or brown cast. Even candles and incense can leave behind invisible residue that discolors trim.
Moisture-prone areas like bathrooms, laundry rooms, and basements can wreak havoc on painted trim. Even minor humidity fluctuations cause expansion and contraction in wood trim, which eventually leads to peeling paint and a yellowed appearance. In extreme cases, the paint may bubble or develop mildew.
In many older homes, previous paint jobs were done using cheap products or rushed prep work. Skipping crucial steps like sanding or priming leads to uneven adhesion, causing trim paint to yellow, crack, or peel prematurely. Low-cost paints also contain fewer resins and color stabilizers, making them more prone to discoloration.
While trim might look like the easiest part of a room to paint, it often demands the most precision—uneven lines, brush marks, or premature peeling are telltale signs of a rushed job. Partnering with professionals ensures crisp, long-lasting results, which is especially important considering that interior trim painting can go up to $2,500, making it a hefty investment.
Professional painters have the tools and techniques to create sharp, clean lines along trim edges, corners, and decorative moldings. Unlike DIY approaches that often leave behind smudges or uneven brush strokes, their work reflects experience and patience. This is especially valuable when painting door and window trim with detailed profiles or layered woodwork.
Professionals know that the secret to long-lasting interior trim painting is in the prep. They take time to clean, sand, patch, and prime every inch—steps that are often skipped or rushed by homeowners. This extra care prevents flaking, bubbling, and premature yellowing, especially in high-traffic areas.
Experienced painters use the best paint for interior trim—not just what’s readily available at the hardware store. By selecting top-tier primers, durable enamel paints, and finishes tailored to a room’s humidity, lighting, and usage, they ensure smoother application and long-term color stability, particularly for interior woodwork painting. This attention to detail reflects a broader trend, as the global paints and coatings market is projected to reach USD 303.97 billion by 2032.
Professional trim painting teams are efficient without cutting corners. They set up drop cloths, tape off surfaces, and minimize disruption to the home while completing the job quickly. This attention to cleanliness is crucial in lived-in spaces where homeowners can’t afford a messy or prolonged process.
Older homes often come with unexpected issues—previous bad paint jobs, lead-based coatings, or warped wood. Professional painters are trained to assess and safely handle these challenges. Their expertise allows them to deliver consistent results even when conditions are less than ideal for interior trim painting.
Trim painted by professionals holds up better over time. They apply the correct number of coats, allow for proper drying time, and use techniques that resist cracking, yellowing, or peeling. For homeowners who want their investment to last, professional trim painting is a smart, long-term solution.
Choosing the right trim paint color can elevate a room or disrupt the entire palette if done poorly. Older homes with yellowed or outdated trim often need not just a fresh coat, but a thoughtful color update that enhances what’s already on the walls. Working with professional painters can make this process easier, ensuring a balance between style, durability, and precision.
A bright, crisp white trim can frame wall colors and create clean lines that make a space feel fresh. This approach works well in rooms with bold or saturated wall tones, offering a modern, high-contrast look. It’s a common choice in professional trim painting because it delivers timeless appeal and pairs well with most interior woodwork painting projects.
In rooms with beige, taupe, or warm-toned gray walls, a warm white trim blends subtly and adds softness. Shades like “Swiss Coffee” or “White Dove” give just enough warmth to avoid stark contrast without looking yellow. This option is popular in historic homes, especially when painting door and window trim to preserve a cozy, lived-in atmosphere.
Using the same color for both walls and trim—either in a different sheen or the same finish—creates a seamless, minimalist look. This is often seen in contemporary or Scandinavian-style interiors where simplicity is key. Professionals offering interior trim painting often recommend this method for small rooms or low-ceilinged spaces to reduce visual breaks.
Soft grays, greiges, or even dusty blues can give a home character without overwhelming the space. These tones add just enough contrast to white or pale-colored walls while avoiding the harshness of bright white. The best paint for interior trim in these tones should include high durability, especially when used on baseboards or casings in busy areas.
For a dramatic, architectural effect, black or dark gray trim works beautifully with light walls. This technique can highlight original woodwork or create a gallery-like frame around doors and windows. It’s a bold move best executed through professional trim painting to ensure clean lines and smooth coverage—especially with dark colors that show every flaw.
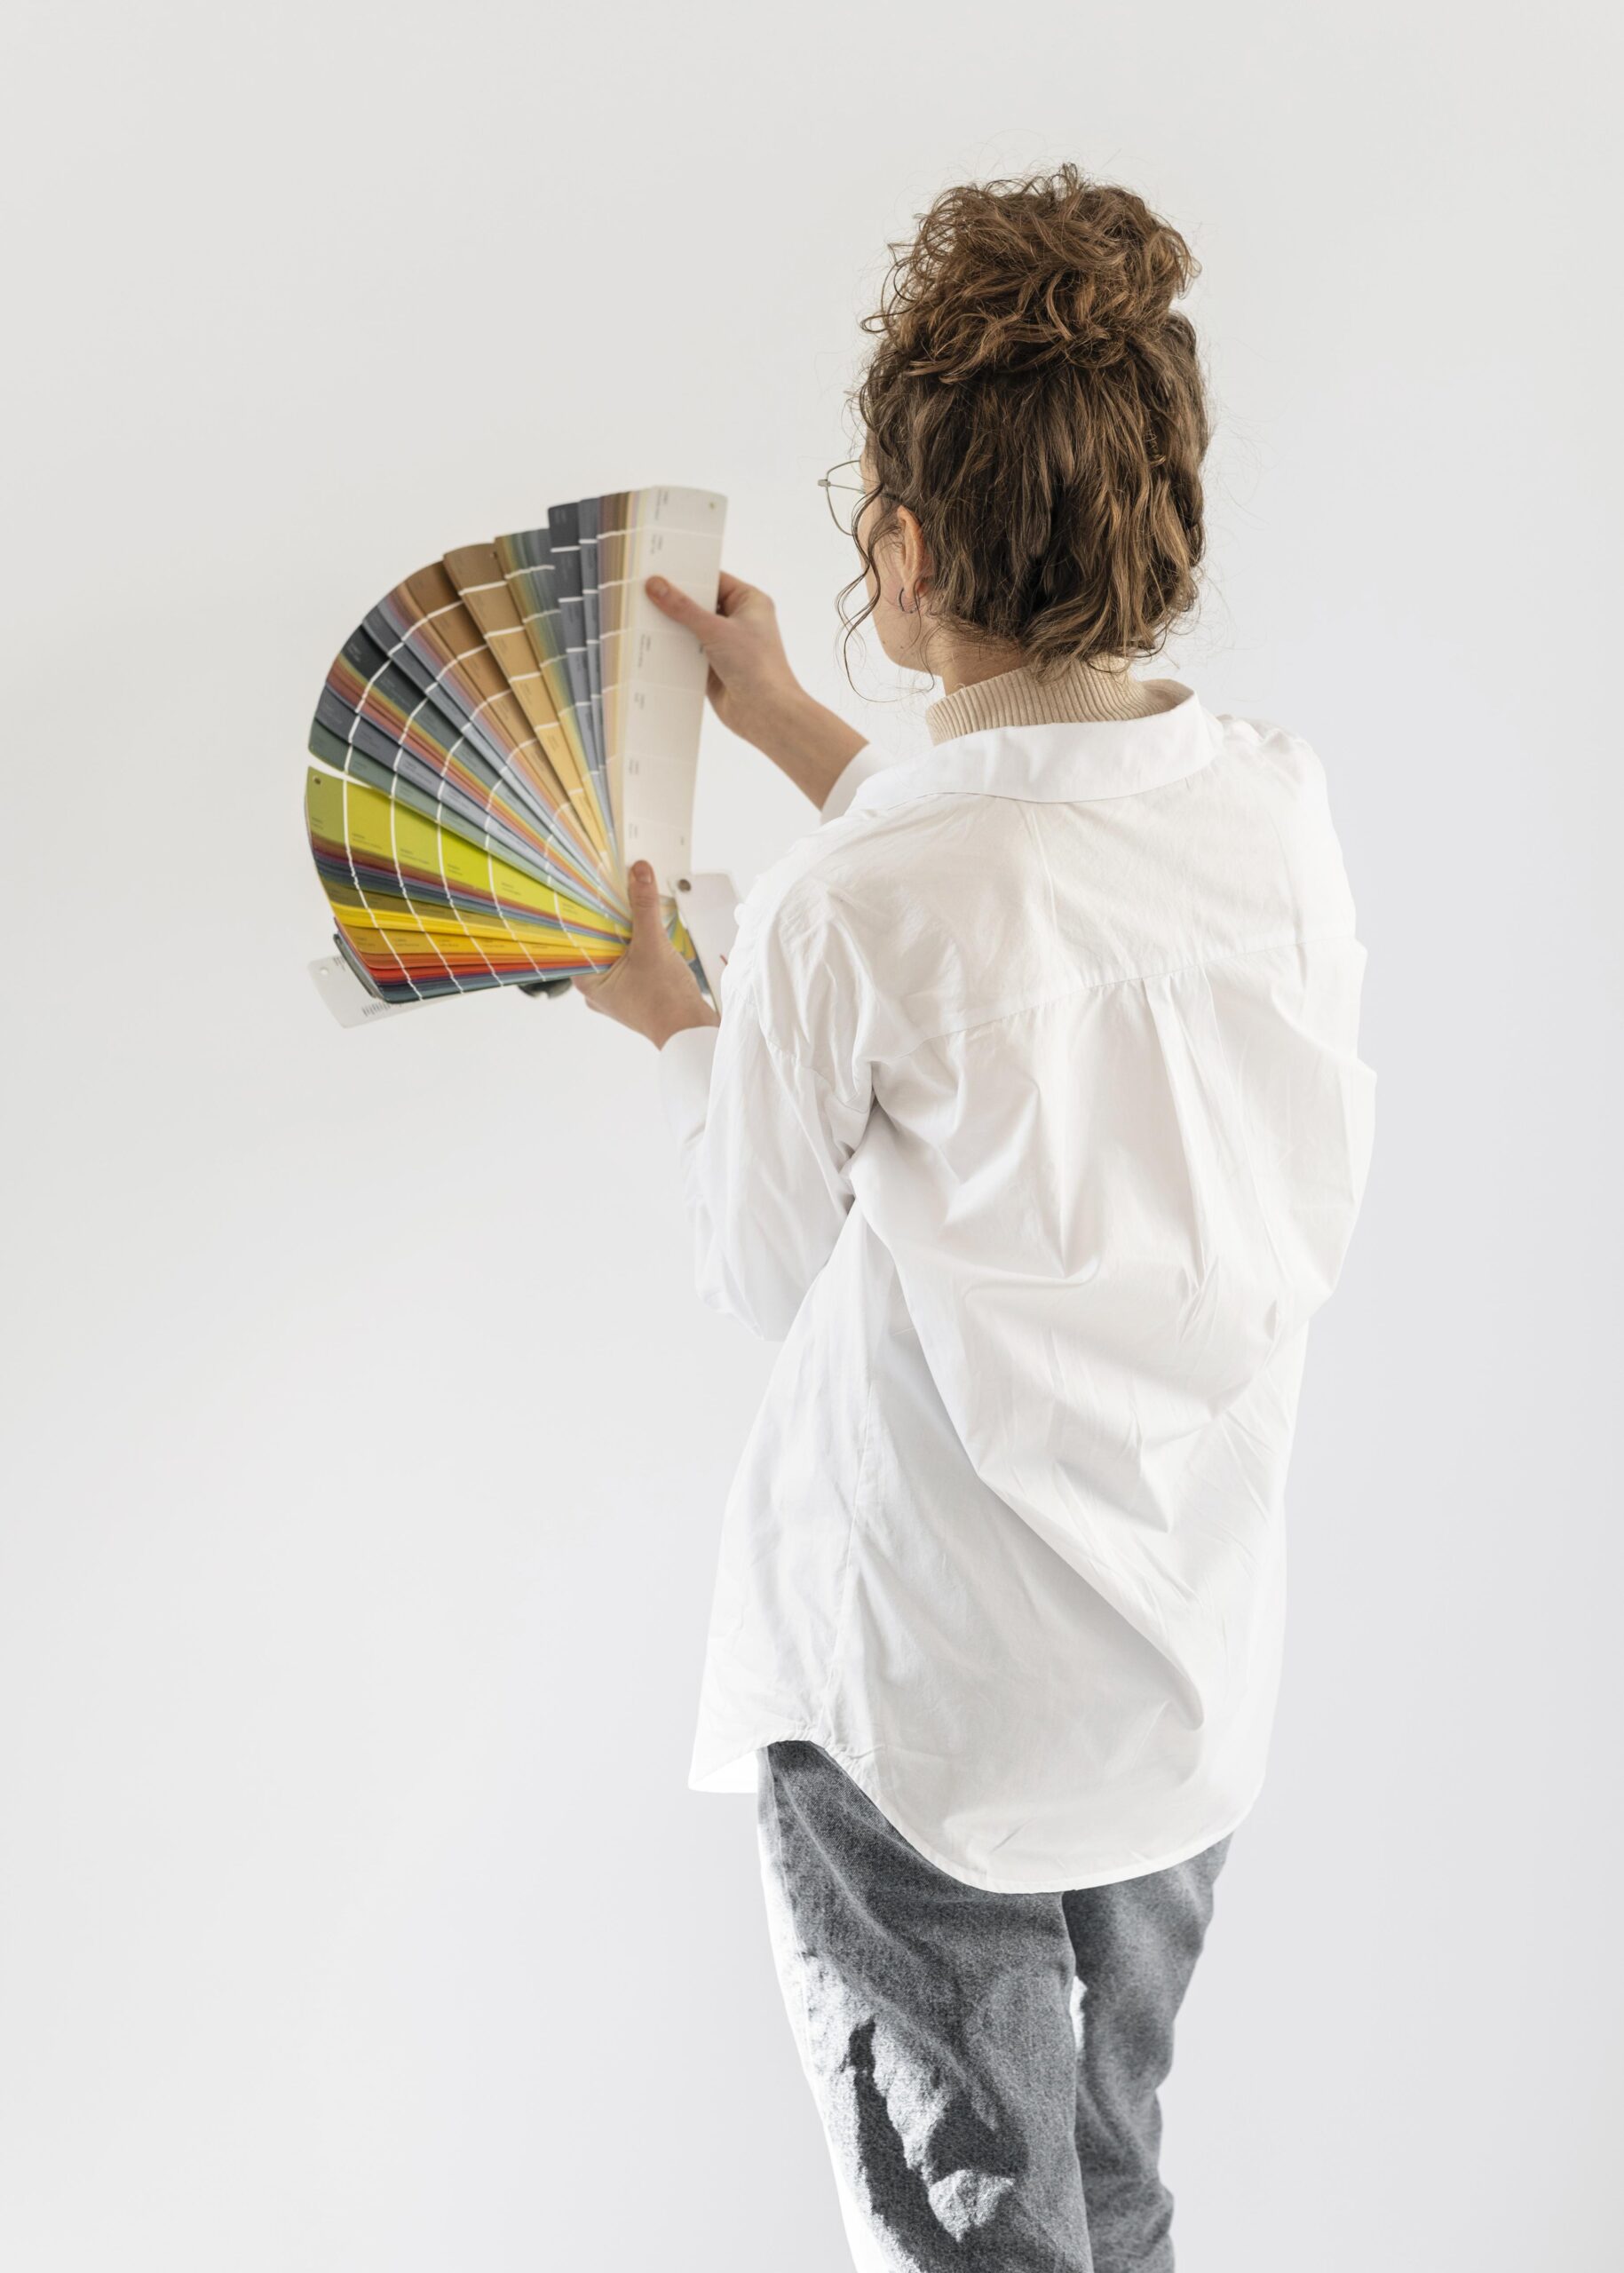
Color selection doesn’t stop at the swatch—lighting, furniture, and flooring all affect how trim color looks in a room. Professional painters often provide sample boards or paint small sections to preview how options work in the actual space. This extra step helps avoid costly mistakes and ensures the chosen color enhances both the walls and the interior woodwork painting project.
Yes, trim can be painted over old paint as long as the surface is properly prepped. This means cleaning thoroughly, sanding to remove gloss, and using a high-adhesion primer to ensure the new paint bonds well. Skipping these steps can lead to peeling or uneven finishes, especially in older homes where previous layers may include oil-based products. For long-lasting results, professional trim painting teams always evaluate surface conditions before starting interior trim painting.
Painting baseboards or lower trim in carpeted rooms requires careful masking and the right tools. Pros often tuck painter’s tape between the carpet and trim using a wide putty knife, then use angled brushes for a precise edge. This technique protects the carpet and ensures clean lines during interior trim painting. Hiring professionals for interior woodwork painting can help avoid accidental drips or uneven coats in these trickier spaces.
Trim in entryways, hallways, kitchens, and mudrooms typically needs repainting every 5 to 7 years due to wear and tear. Scuffing, chipping, and discoloration are common in these zones, especially near doors and staircases. Using the best paint for interior trim can extend the lifespan by resisting impact and cleaning damage. Professional trim painting ensures thorough prep and product selection, which helps paint last longer under daily use.
Yes, trim and doors don’t have to match—they can complement or contrast depending on the design style. For example, soft gray trim with white doors creates a gentle contrast, while black doors with white trim offer a bold, modern look. When painting door and window trim, using different finishes or tones can help frame features more dramatically. Professionals often guide homeowners through color coordination during interior woodwork painting projects.
If a home was built before 1978, the trim may contain lead-based paint, which poses health risks when disturbed. It’s not safe to sand or scrape lead paint without proper containment and protective equipment. Professional trim painting teams are trained to identify and manage lead hazards, often encapsulating old layers with bonding primers and sealed topcoats. For safe and effective interior trim painting in older homes, always consult licensed professionals.
When it comes to restoring charm and clean lines to older interiors, Avon Professional House Painter delivers results that make a difference. Specializing in interior woodwork painting, our team handles everything from discolored baseboards to detailed crown molding with care and precision. We use high-quality primers and the best paint for interior trim to ensure long-lasting, professional-grade finishes.
Connect with our expert team today to refresh your home!