3 Types of Paneling
Before diving into the painting process, it’s essential to understand the type of paneling you’re working with. The preparation and painting techniques vary based on the material, so let’s break down the most common types of paneling found in homes today:
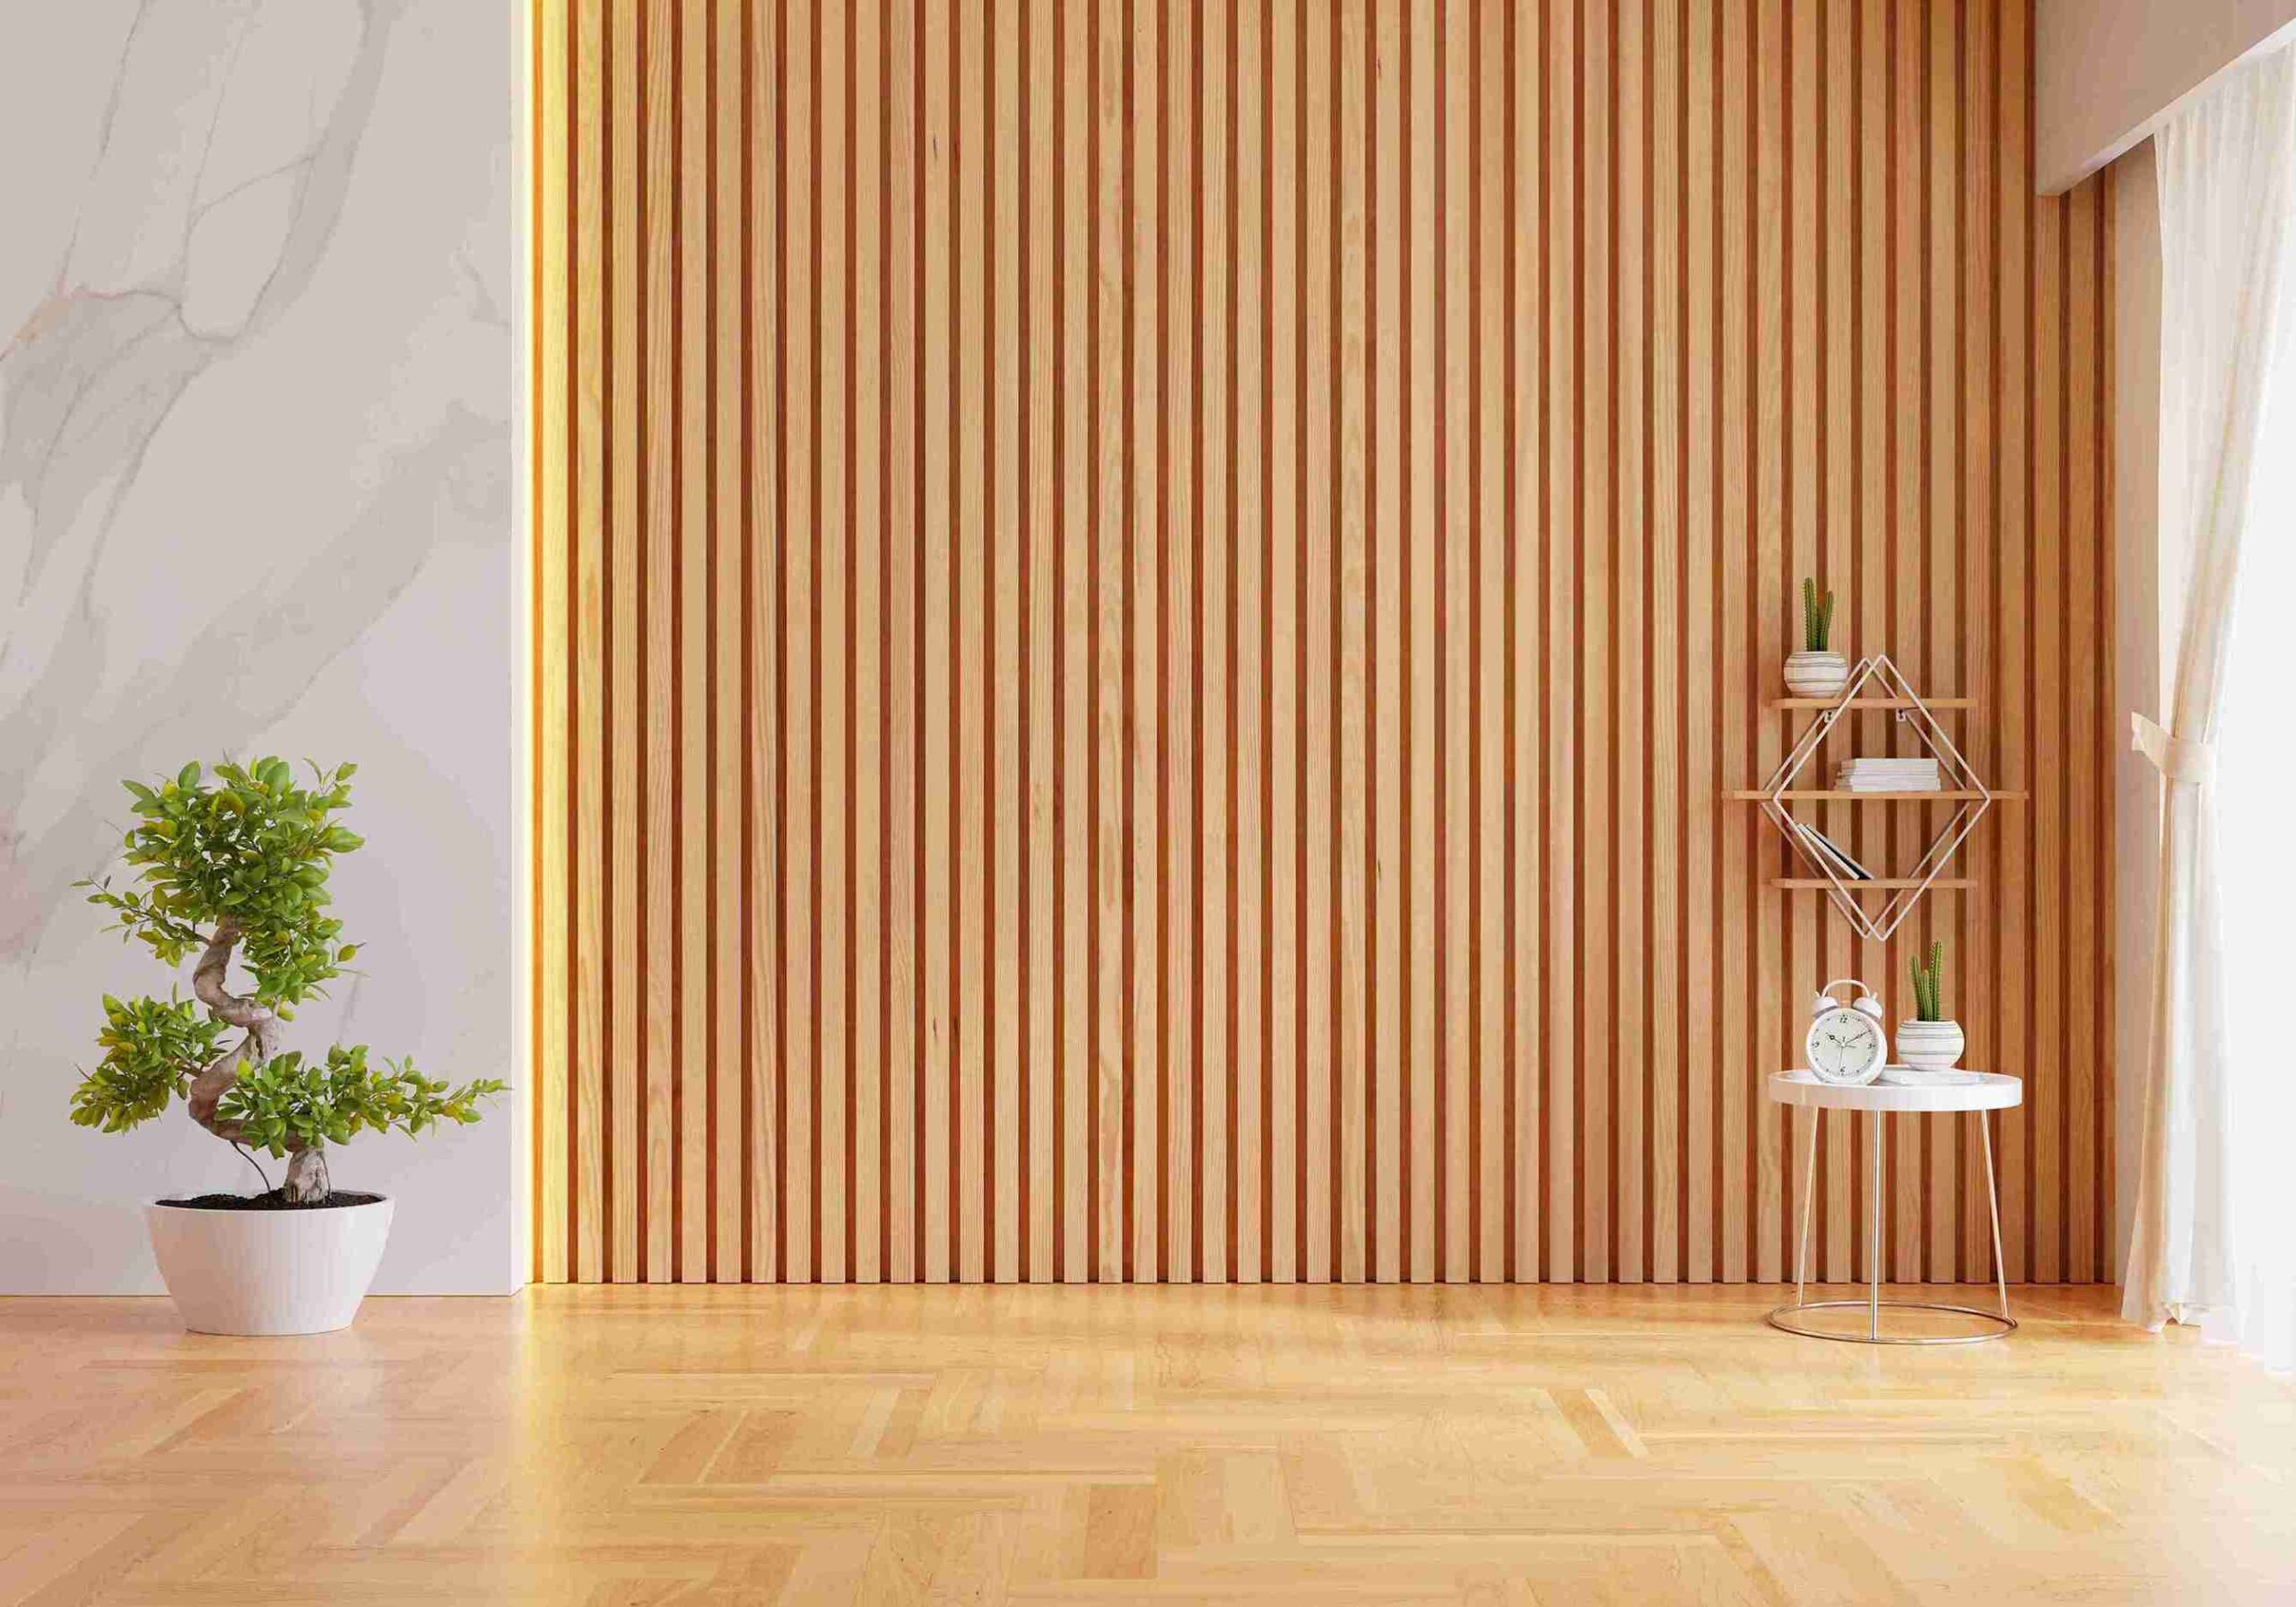
Wood paneling is a classic feature in older homes and offers a rich, natural aesthetic. While it may add character, it can also darken a space and make it feel heavy. However, painting wood paneling is a great way to brighten a room and bring it into the modern era.
Medium-density fiberboard (MDF) paneling is popular for its smooth surface and affordability. It’s often used in more modern homes. Unlike wood paneling, MDF doesn’t have a grain, making it easier to paint. It also absorbs paint well, providing an even finish.
PVC (polyvinyl chloride) paneling is a low-maintenance, durable option used in moisture-prone areas such as bathrooms or basements. While painting PVC paneling is possible, it requires a special type of paint and primer to adhere properly.
Essential Tools and Materials
To achieve a professional finish when painting paneling, you’ll need the right tools. Below are the essential materials and equipment for the job:
- Paint: The best paint to use on paneling depends on the type of paneling you have. For wood paneling, latex paint is an excellent choice, while oil-based paints work well for a more durable finish. If you’re painting MDF or PVC, latex paint is ideal. Satin or semi-gloss finishes are popular because they offer a bit of sheen without being overly glossy. Consider these for the best paint to use on paneling.
- Primer: Primer is critical when painting paneling, especially if you’re switching from a dark color to a lighter one. The primer helps the paint adhere better and provides an even surface. For wood paneling, a bonding primer is often best, while MDF paneling may require a different type.
- Brushes and Rollers: A high-quality brush and roller set is crucial for achieving a smooth finish. Use an angled brush to get into the grooves of wood paneling, and a foam roller to cover larger areas. To paint wood paneling, a medium-sized brush is ideal for edging and corners, while a roller will help with the flat surfaces.
- Drop Cloths, Painter’s Tape, and Sandpaper: To protect the surrounding area from paint splatters, use drop cloths. Painter’s tape is essential for protecting trim or areas you don’t want to paint. Sandpaper will help smooth out rough surfaces and ensure the paint adheres properly.
- Caulk and Fillers: You may need to fill in gaps or nail holes with caulk or wood filler to create a smooth, flawless surface. This is particularly important if your wood paneling has visible seams or imperfections.
- Cleaning Supplies: Use a degreaser and a damp cloth to clean the paneling before painting. If your paneling is in a high-traffic area, it’s essential to remove any grease, dirt, or grime before starting.
How to Prep for Paneling
Proper preparation is one of the most important steps before knowing how to paint paneling. Without proper prep work, the finished paint job may look amateurish, uneven, or prone to chipping over time. Let’s break down the essential steps to get your paneling ready for painting, and achieve results that look like they were done by a pro.
Step 1: Clean the Surface
Cleaning the paneling before applying any paint is crucial. Over time, paneling can accumulate layers of dust, dirt, grease, or other grime. These particles not only affect the paint’s adhesion but can also result in an uneven finish. Without proper cleaning, these contaminants can leave your paint job looking patchy or cause it to peel prematurely.
- Use a Degreaser: For kitchens or high-traffic areas, a degreaser will help you get rid of any grease or oils that have built up over the years.
- All-Purpose Cleaner: For general cleaning, a good all-purpose cleaner can work well. Apply it to a cloth and wipe the paneling down thoroughly.
- Wood Cleaner for Wood Paneling: If you have natural wood paneling, use a wood-specific cleaner that will not damage the wood finish. This ensures that the wood’s surface stays intact while still getting a deep clean.
Step 2: Sand the Paneling
Sanding your paneling before painting is essential for achieving the best possible adhesion. Sanding creates a rough surface that allows the primer and paint to stick better, leading to a smoother, more durable finish. While it might seem like an extra task, it makes a huge difference in the overall result.
- Wood Paneling: To paint wood paneling, use medium-grit sandpaper (about 120 to 150 grit) to remove any rough spots, existing paint, or varnish. Sand the paneling evenly to ensure a smooth surface, paying extra attention to corners and grooves.
- MDF Paneling: MDF is generally smooth, but it can still benefit from light sanding. A light sanding with fine-grit sandpaper (220 grit) will help create a surface that better absorbs paint.
- Textured or Grooved Paneling: If your paneling has deep grooves or a rough texture, you may want to use a sanding block or an orbital sander. This will help you reach the crevices and make sure every part of the paneling is prepped for painting.
Step 3: Fill Gaps and Holes
Over time, paneling may develop gaps between the boards or holes from nails used during installation. These imperfections can be quite noticeable after painting, so it’s important to fill them before applying your primer and paint. Filling gaps and holes also ensures that your final result looks polished and seamless.
- Use Wood Filler for Wood Paneling: If you will paint wood paneling, wood filler is an excellent option for filling gaps and holes. Use a putty knife to apply the filler, and make sure it fills the gaps entirely.
- Flexible Caulk for MDF and PVC: For MDF and PVC paneling, a flexible caulk works best. This is especially true for seams between panels that may expand and contract with changes in temperature. Apply the caulk into the gap, and smooth it out with your finger or a damp cloth.
- Let it Dry and Sand: Once the filler or caulk has dried, lightly sand it with fine-grit sandpaper to smooth out the surface and make it level with the rest of the paneling. This step ensures that your paint goes on smoothly and that there are no bumps or inconsistencies.
Step 4: Apply Primer
Primer is the foundation of a smooth and durable paint job, especially when it comes to paneling. Applying a coat of primer helps the paint adhere better, ensures uniform color coverage, and creates a barrier between the paneling and the paint. Without primer, your paint may peel, chip, or discolor more quickly.
Choosing the Right Primer
- For Wood Paneling: Use a bonding primer designed for wood surfaces. This will help the paint stick better and provide a more even finish. If you’re switching from a dark wood finish to a lighter color, opt for a stain-blocking primer to ensure complete coverage.
- For MDF and PVC Paneling: A general-purpose primer will work fine for MDF and PVC. These primers are designed to adhere to smooth, non-porous surfaces. For painting MDF paneling, choose a primer that is specifically formulated for engineered wood to prevent any peeling or bubbling.
How to Apply Primer
- Brush and Roll: Use a brush for edges and grooves, and a foam roller for flat surfaces to ensure even coverage. Make sure to cover the entire paneling, including any gaps or crevices that might be missed with a roller.
- Allow to Dry: Let the primer dry completely according to the manufacturer’s instructions, usually around 1-2 hours. Lightly sand the surface with fine-grit sandpaper between coats to smooth out any imperfections.
How to Paint for Paneling
Once you’ve prepped and primed your paneling, it’s time to dive into the painting process. Achieving a smooth, professional-looking finish on your paneling requires the right techniques and attention to detail. Before you begin, ensure the room is free from any moisture issues; if you notice signs of water intrusion near the ceiling or walls, it is wise to have a roofing company inspect for leaks first. Once you are sure the area is dry, here’s a step-by-step guide on how to paint paneling for a flawless finish:
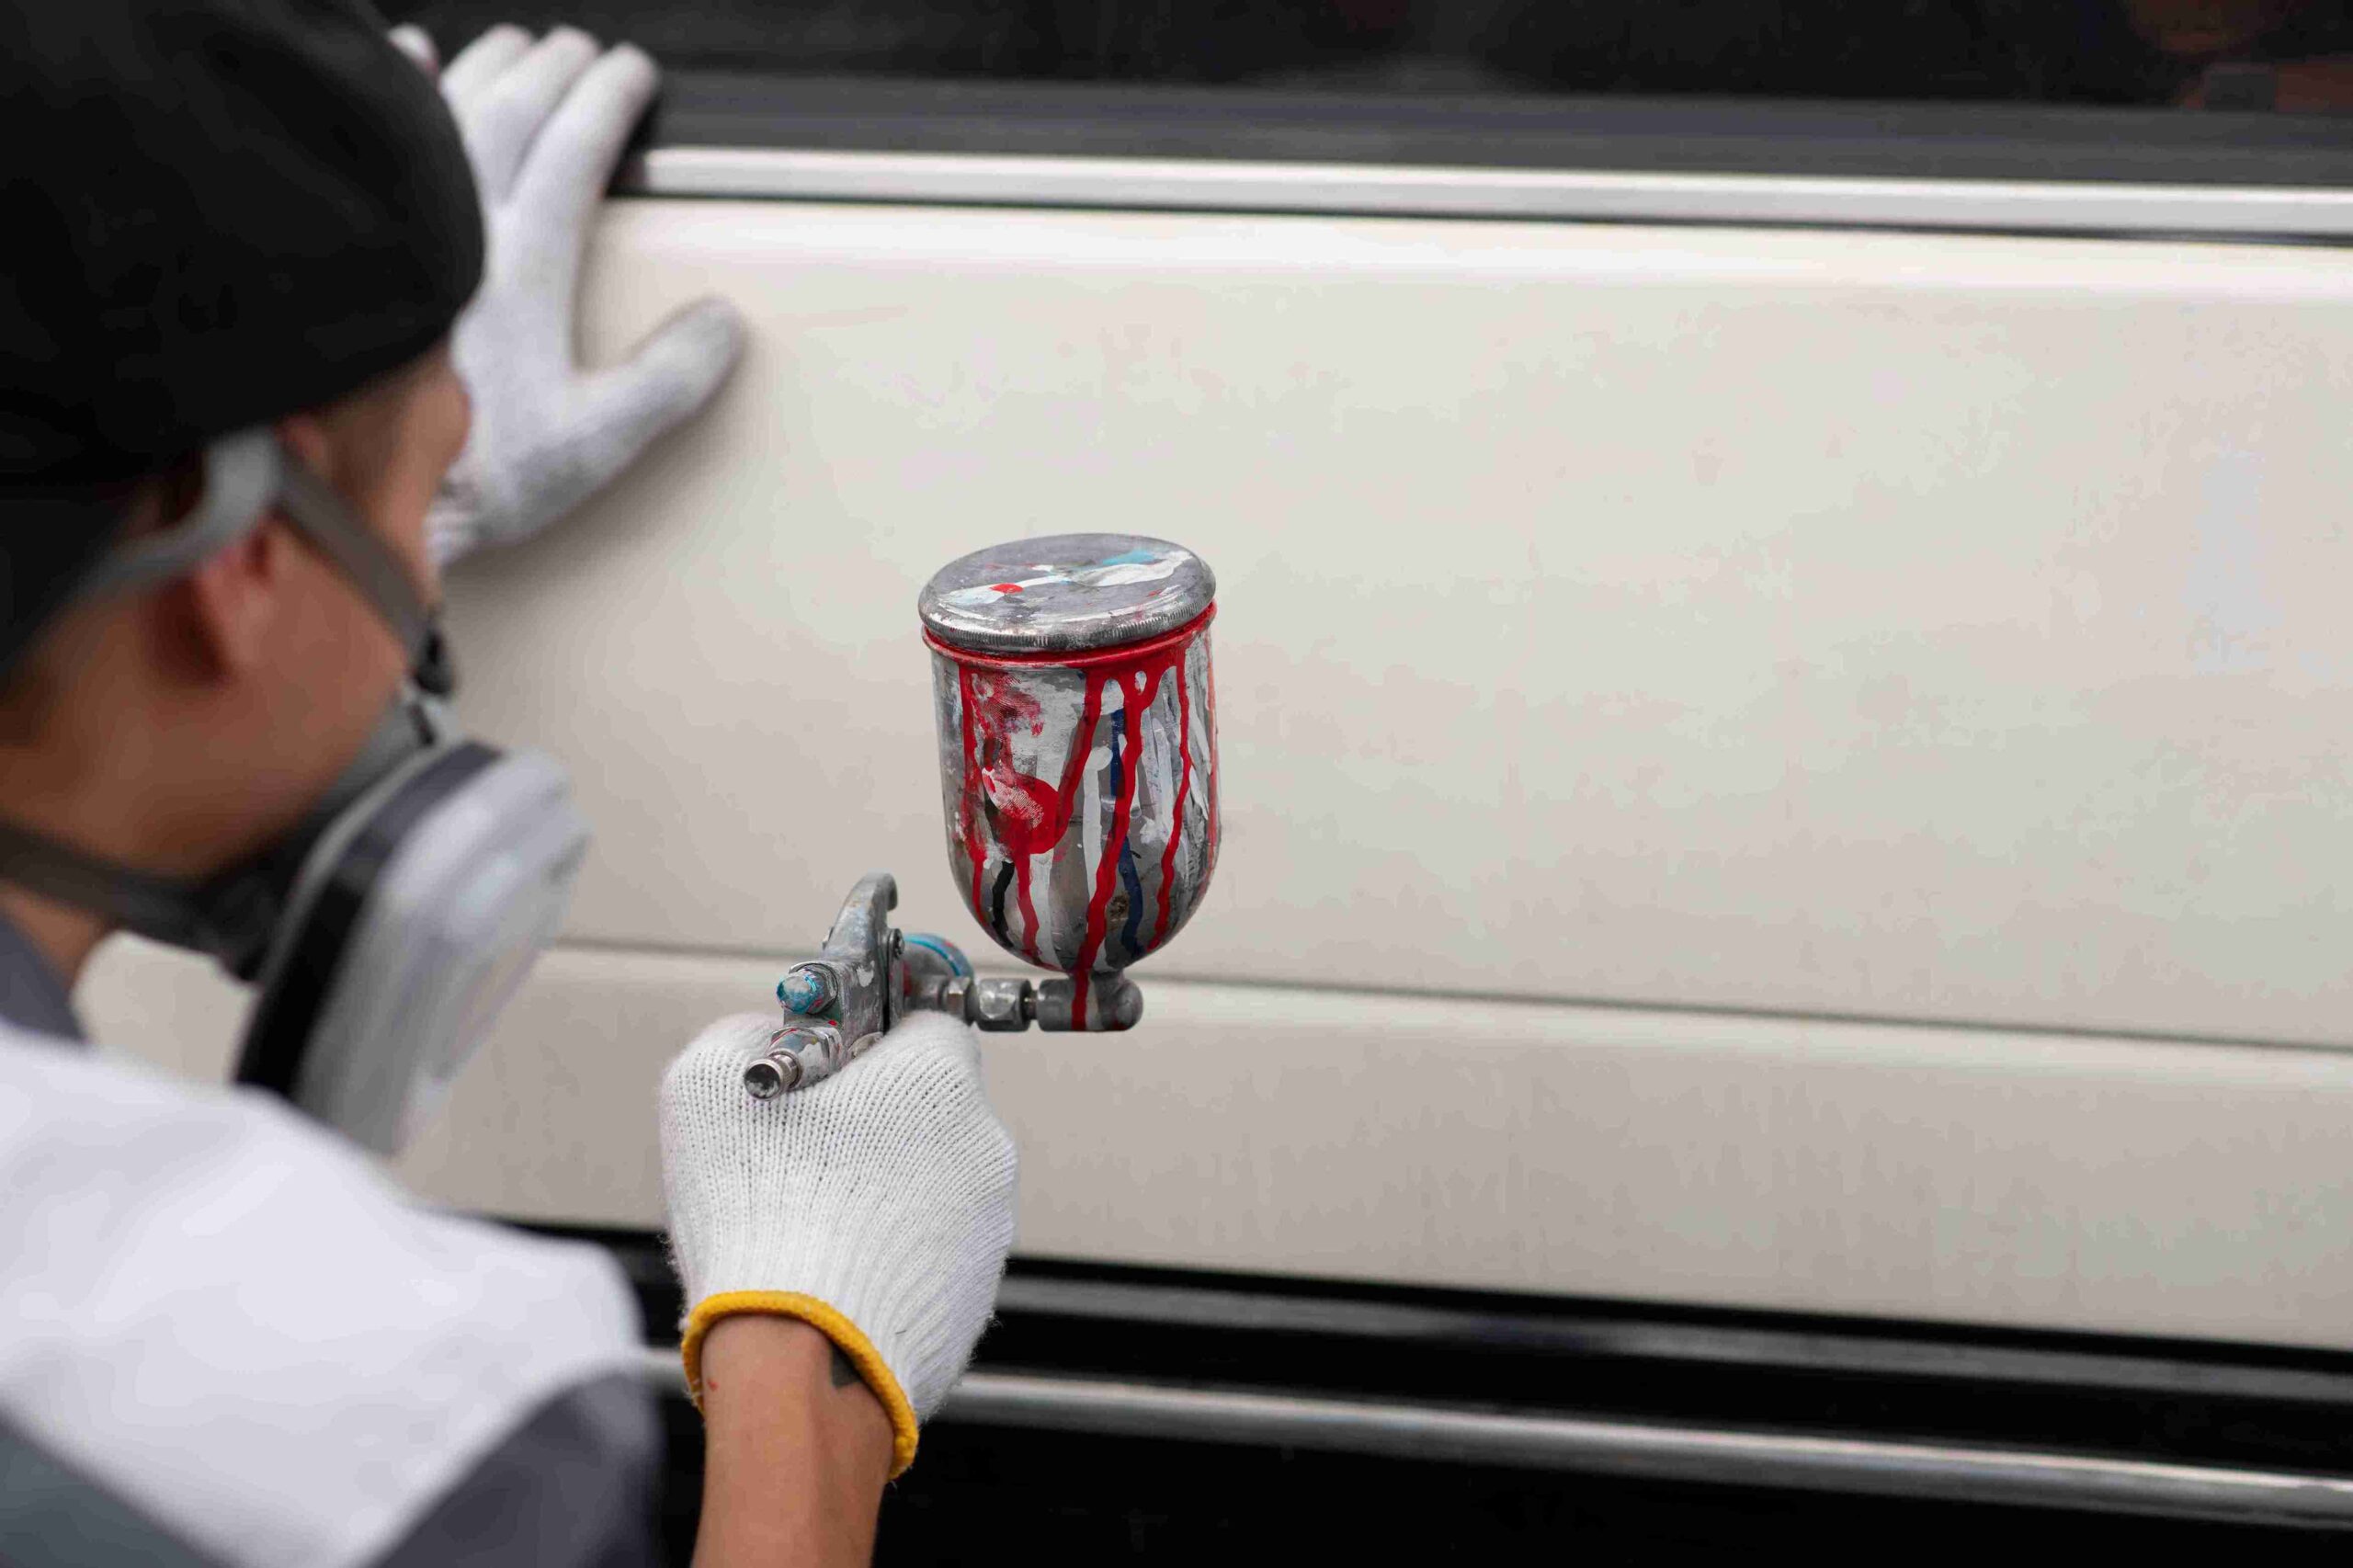
Step 1: Choosing the Right Paint
Selecting the best paint to use on paneling is crucial to achieving a smooth and long-lasting finish. The type of paint you choose will depend on the material of the paneling, as well as the look you’re going for.
Paint Type
- Latex or Acrylic Paint: These are the most common choices when considering how to paint paneling. Both are durable, dry quickly, and are easy to clean. They also tend to hold up well against wear and tear, making them ideal for high-traffic areas.
- Oil-Based Paint: If you’re painting over wood paneling, oil-based paint can offer a durable, long-lasting finish. Oil-based paint contains natural or synthetic oil as a key ingredient, and it dries to a hard, durable finish that resists nicks and dings. However, it does take longer to dry and may have a stronger odor, so it’s best suited for well-ventilated areas.
Finish Options
- Satin Finish: A satin finish is a great choice for painting paneling ideas as it offers a slight sheen while still being easy to maintain. It’s perfect for living rooms or dining areas where you want a bit of gloss without it being overwhelming.
- Semi-Gloss Finish: If you’re after a bit more shine and durability, semi-gloss paint is ideal. It’s easier to clean and perfect for kitchens or bathrooms where there’s a higher chance of splashes or stains.
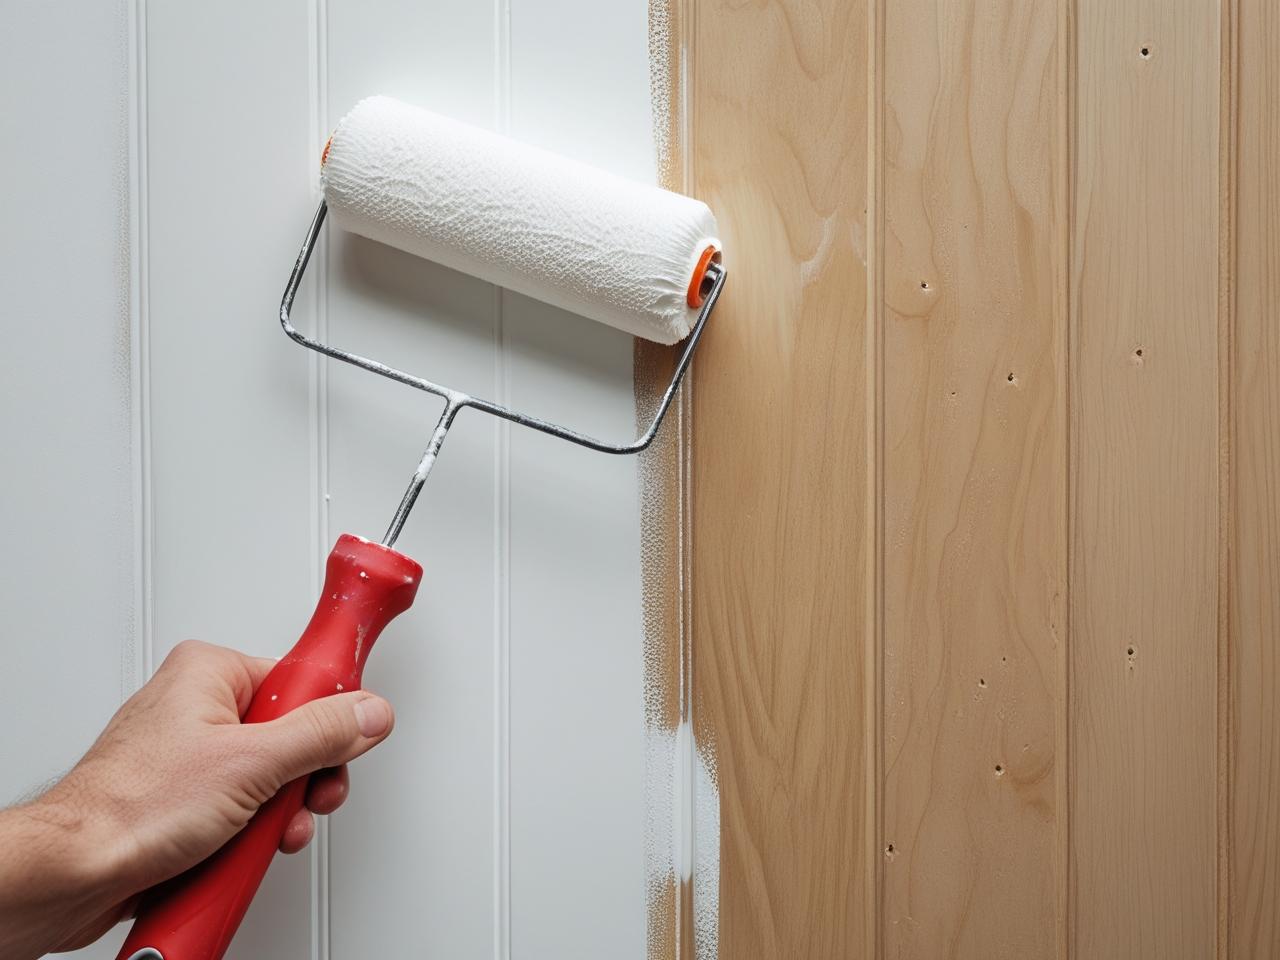
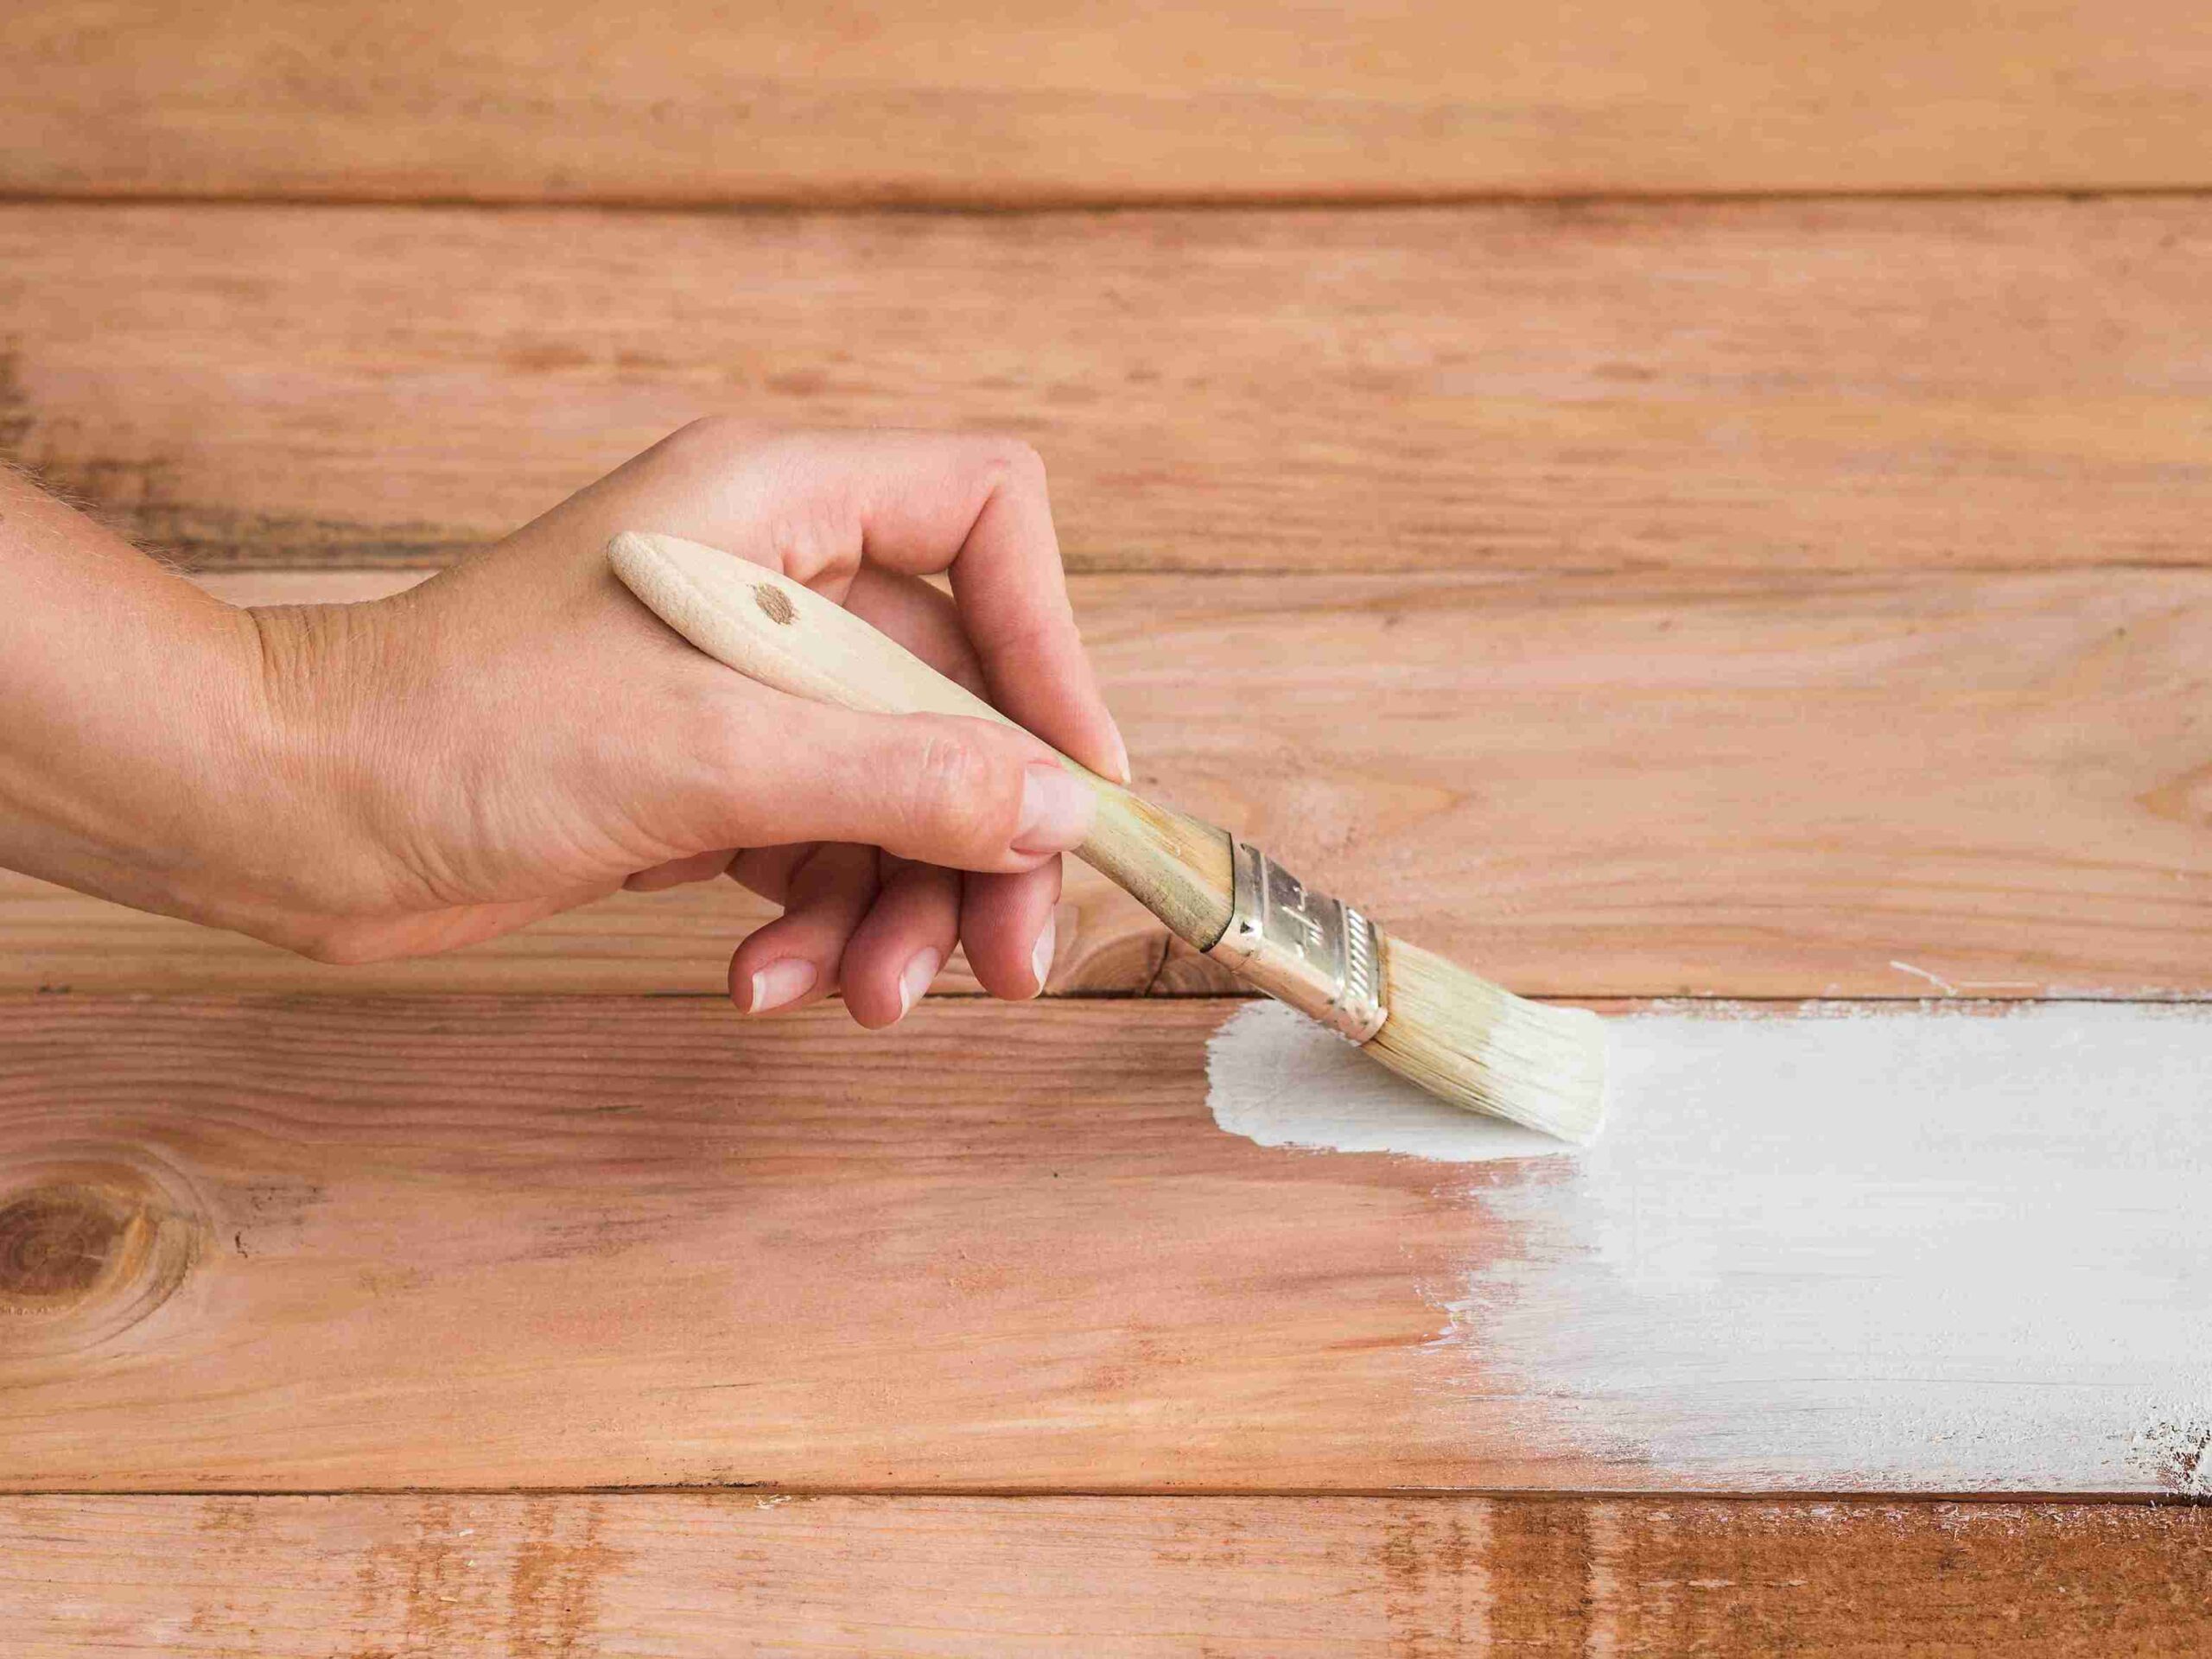
Step 2: Apply the First Coat of Paint
After selecting your paint, it’s time to begin applying the first coat. The technique used here is crucial to achieving an even, smooth finish, especially if your paneling has texture or grooves.
How to Apply the First Coat
- Cut In Around the Edges: Start by using a high-quality angled brush to cut in around the edges of the paneling. This includes areas like the trim, corners, and any grooves or crevices where a roller can’t reach. This is also known as “cutting in” and ensures clean, sharp lines where the wall meets trim or other surfaces.
- Use a Foam Roller for Flat Surfaces: After cutting in, use a foam roller to apply paint to the larger, flat surfaces. Foam rollers are ideal for smooth finishes as they help spread the paint evenly without creating texture. Work in small sections at a time to ensure that the paint doesn’t dry too quickly.
- Maintain a Wet Edge: To avoid lap marks, always keep a “wet edge” when applying paint. This means you should continue painting in sections without letting the previous area dry completely.
Step 3: Apply Additional Coats
To get the best possible coverage and achieve a solid, opaque finish, you’ll likely need to apply two to three coats of paint.
How to Apply Additional Coats
- Allow the First Coat to Dry: After applying the first coat, let it dry completely before adding a second coat. Drying times vary depending on the type of paint, but generally, latex paint dries within 1-2 hours, while oil-based paints may take longer.
- Lightly Sand Between Coats: Once the first coat is dry, lightly sand the paneling with fine-grit sandpaper (220 grit) to remove any bumps, brush marks, or imperfections. This ensures the second coat adheres well and creates a smooth surface.
- Apply a Second Coat: After sanding, apply a second coat of paint, following the same method as the first. This will help even out the color and cover any spots that were missed during the first coat. If you’re painting over a dark surface, you may need to apply a third coat.
Key Tips for Applying Multiple Coats
- Be patient. Allow proper drying time between coats to avoid peeling or uneven texture.
- Sand lightly between each coat to ensure that the surface remains smooth.
- If you’re covering a dark color, consider using a primer designed to block stains and color bleeding.
Step 4: Final Touches
Once the final coat has dried, it’s time to inspect your work and make any necessary touch-ups. This step is essential for a flawless finish that looks professionally done.
How to Finish Off Your Paneling
- Inspect for Missed Spots or Streaks: After the last coat has dried, carefully inspect your paneling for any spots you may have missed. Use a small brush to touch up areas along the edges or corners where the roller may not have reached.
- Lightly Sand for a Super-Smooth Finish: If you want a truly professional result, lightly sand the paneling again after the final coat has dried. This step removes any imperfections and gives the surface a smooth, silky feel. Be sure to clean off any dust before applying the final touch-ups.
Additional Touch-Up Tips
- Use a Small, Angled Brush: For touch-ups, a small, angled brush is best for painting paneling ideas as it allows for precision when working on edges and corners.
- Work in Good Lighting: Inspect your work under bright light to catch any imperfections that may be hard to see in dimmer lighting.