
What’s In This Guide
- Why Does Exterior Wood Need Careful Prep Before Painting?
- What Should Be Checked Before Applying Exterior Wood Paint?
- How Should Wood Be Prepared for a Longer-Lasting Finish?
- Which Mistakes Cause Exterior Wood Paint To Fail?
- What Local Details Can Change The Painting Plan?
- How Can You Turn The Estimate Into A Clear Project Plan?
- What Should Happen During The Final Walkthrough?
- Frequently Asked Questions (FAQs)
- Schedule a Professional Exterior Wood Painting Consultation
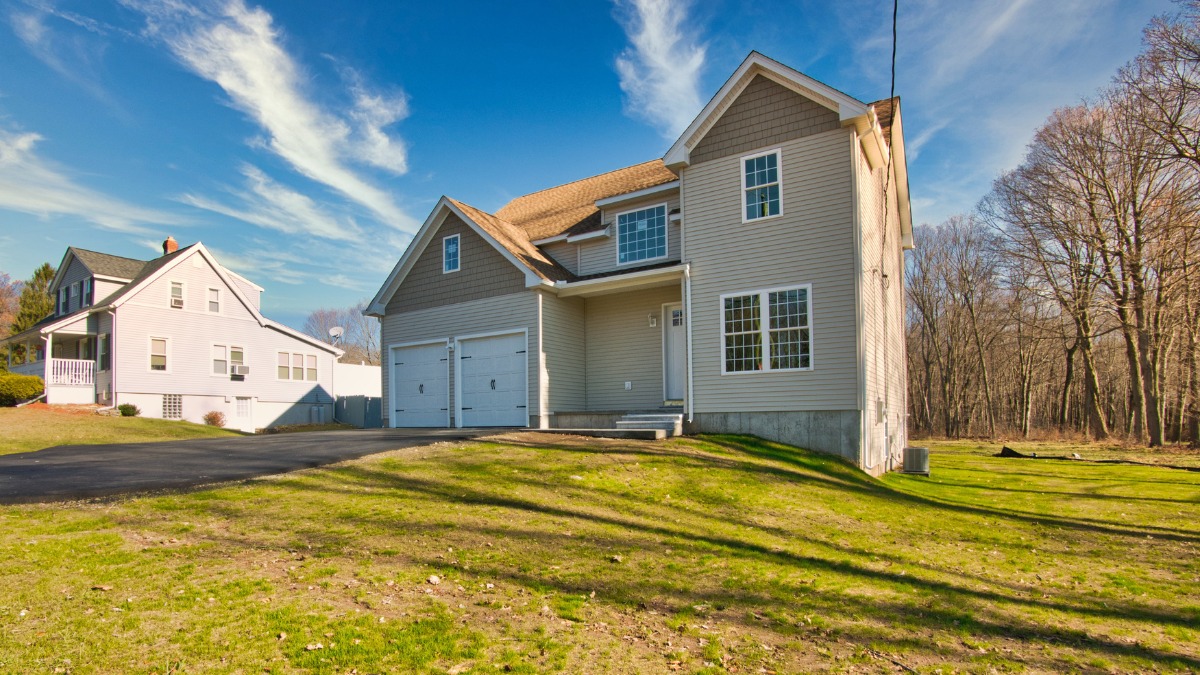
Fresh paint can dramatically improve the appearance of your home, but the finish is only as good as the preparation underneath it. Whether you’re repainting wood siding, trim, shutters, decks, or decorative details, proper surface preparation helps the new coating bond correctly and withstand Connecticut’s changing weather.
If you’re planning to apply outdoor paint for wood in Avon, CT, taking time to inspect, repair, clean, sand, prime, and seal the wood can make the difference between a finish that lasts for years and one that begins peeling or cracking far sooner than expected.
Quick Facts
- Exterior wood paint in Avon, CT, lasts longer when wood is dry, sound, sanded, primed, and sealed at vulnerable edges.
- Wood siding, trim, decks, rails, and detail areas may need different prep before repainting.
- Paint cannot solve active water problems in wood.
- Bare wood, exposed end grain, failed caulk, and peeling paint should be corrected before finish coats.
- Professional prep helps prevent early peeling, swelling, cracking, and uneven absorption.
Why Does Exterior Wood Need Careful Prep Before Painting?
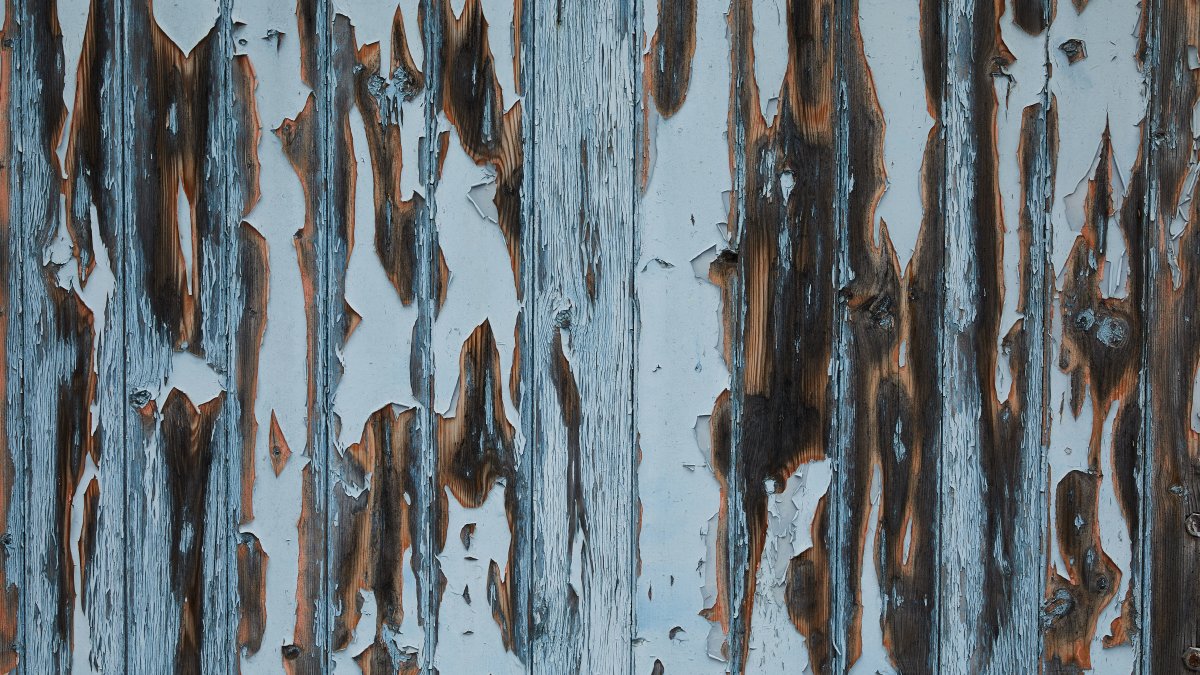
Exterior wood expands, contracts, absorbs moisture, and weathers differently than many other surfaces. Paint protects wood only when the surface is stable enough for the coating to bond properly.
Proper exterior wood siding painting preparation removes loose paint, smooths rough edges, exposes hidden damage, and creates a clean surface for primer. Skipping prep can trap moisture or leave a weak coating under the new finish.
What Should Be Checked Before Applying Exterior Wood Paint?
A useful inspection separates cosmetic wear from conditions that can shorten the life of the paint. In Avon, CT, shade, tree cover, winter moisture, and older trim details can all affect the surface.
- Soft or rotted wood near joints and lower trim
- Peeling paint, chalking, mildew, and dirt
- Open gaps where caulk has failed
- Unprimed bare wood or exposed end grain
- Fastener stains, tannin bleed, and water marks
How Should Wood Be Prepared for a Longer-Lasting Finish?
Preparing wood for painting should follow a clear sequence. Cleaning comes first, followed by repairs, sanding, primer, caulk, and finish coats to create a durable surface for the new coating.
- Clean the surface and allow wood to dry fully.
- Scrape loose paint without gouging sound wood.
- Sand raised edges so old coating transitions smoothly.
- Prime bare wood, repairs, stains, and exposed end grain.
- Caulk joints after primer where the product instructions allow.
When older paint may be present, lead-safe practices should be considered before disturbing coatings.
MORE ON THIS TOPIC: Exterior House Painting Cost in Avon, CT
Which Mistakes Cause Exterior Wood Paint To Fail?
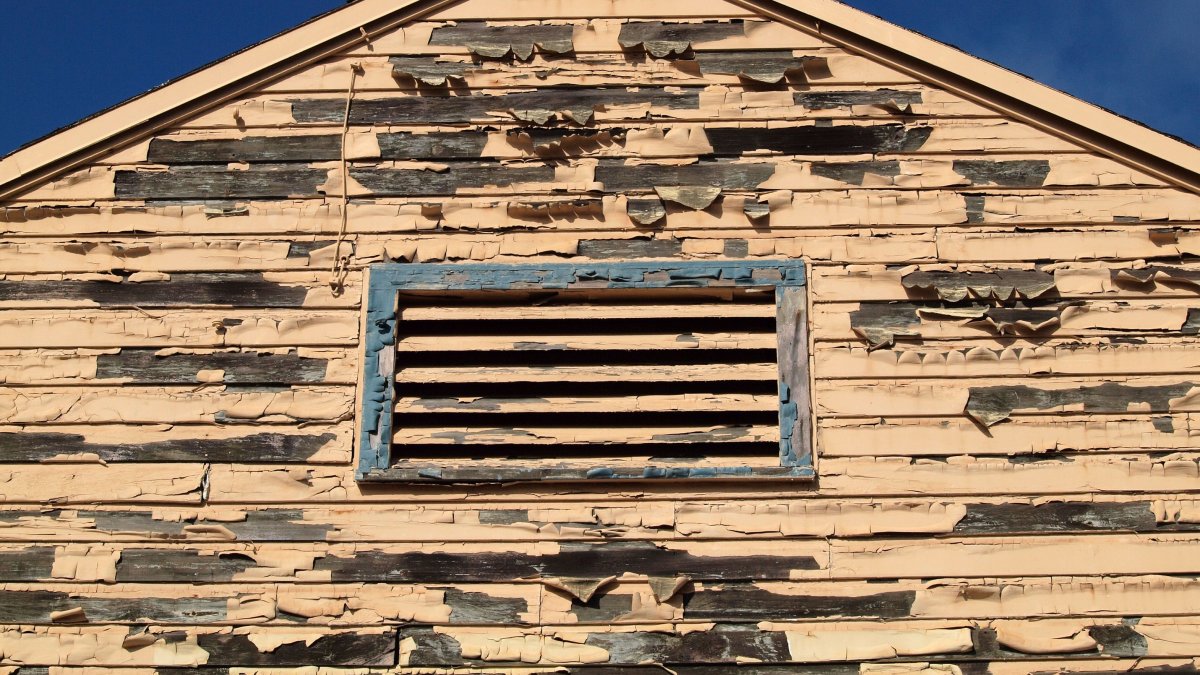
Most early failures come from moisture, poor surface prep, wrong product use, or rushed timing. The finish can look good on day one and still peel early if the bond is weak.
- Painting damp wood
- Skipping primer on bare or repaired areas
- Painting over loose coating
- Caulking over dirty or wet joints
- Ignoring drainage or flashing problems that keep wood wet
What Local Details Can Change The Painting Plan?
Local conditions can change the best painting plan even when two homes need the same basic service. Age, shade, moisture exposure, trim condition, ventilation, and how the surface is used all affect preparation and product selection.
Homeowners should share details that may not be obvious during a quick conversation. Recent leaks, old repairs, peeling areas, pets, children, work-from-home schedules, and access limits can all affect the order of work.
- Note areas that peel, stain, or collect moisture first.
- Identify rooms or exterior walls that are hardest to access.
- Ask how the painter will protect nearby surfaces before prep starts.
- Confirm whether repairs, primer, caulk, or specialty cleaning are included.
How Can You Turn The Estimate Into A Clear Project Plan?
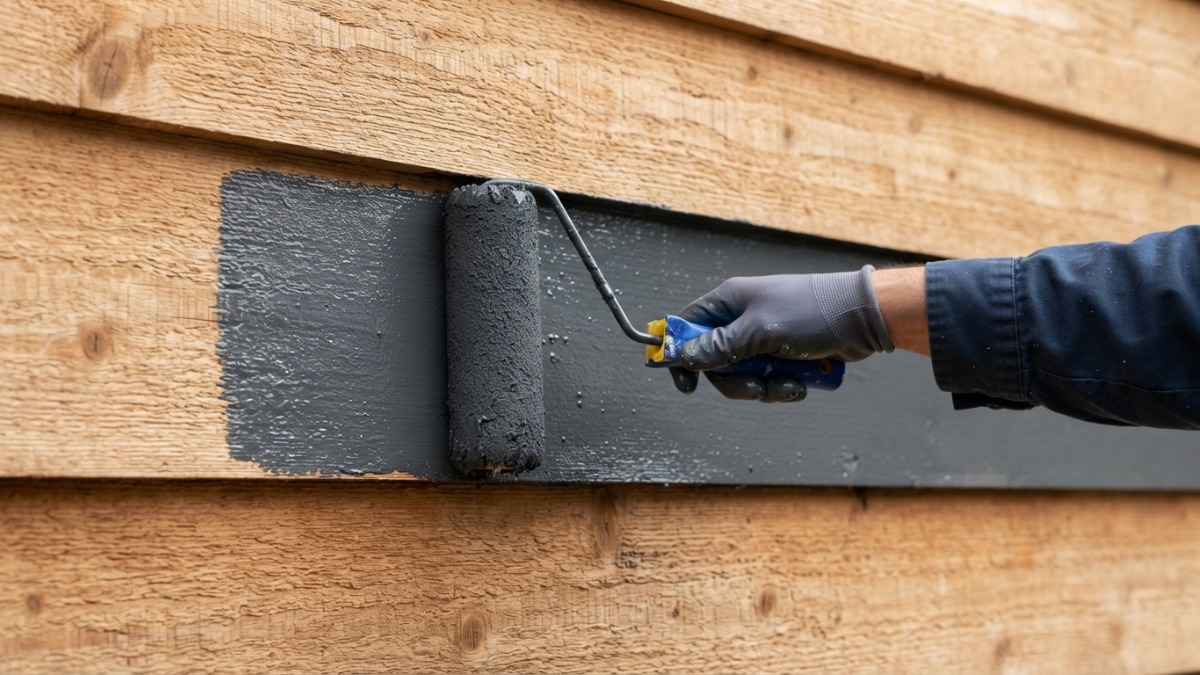 The estimate should become a practical project plan before work begins. That plan should explain scope, schedule, products, surface preparation, protection, cleanup, and the final walkthrough.
A clear plan also helps prevent scope drift. When the homeowner and painter agree on which surfaces are included, which conditions require extra repair, and how weather or drying time will be handled, the project is easier to manage.
Before approving the project, ask the contractor to explain the next steps in plain language. The answer should make the timeline, access needs, and decision points easy to understand.
What Should Happen During The Final Walkthrough?
The final walkthrough should happen before the project is considered complete. This is the time to review coverage, edges, touchups, cleanup, and any care instructions that protect the new finish.
Homeowners should look at the work in natural and artificial light when possible. Different lighting can reveal missed edges, thin spots, roller marks, or prep details that need one more pass.
- Review corners, trim lines, doors, or siding transitions.
- Ask how long to wait before washing, rehanging items, or heavy use.
- Confirm leftover paint labels, colors, and finishes for future touchups.
- Document any agreed touchups before the crew leaves.
A clean finish is only part of a successful painting project. Clear closeout details help the homeowner maintain the work and know what to expect as the coating cures.
Frequently Asked Questions (FAQs)
Can exterior wood be painted without primer?
Bare wood, repairs, stains, and exposed edges usually need primer. Product instructions and surface condition should guide the final decision.
Should wood siding be power washed before painting?
Cleaning helps, but pressure should be controlled carefully. Too much pressure can drive water into siding or damage soft wood.
How dry should wood be before painting?
Wood should be dry enough for the coating product and project conditions. Damp wood can cause adhesion and blistering problems.
Can you paint over peeling exterior wood paint?
No. Loose or peeling paint should be scraped away, and the surface should be sanded and primed as needed before applying new paint. Painting over failing coatings can lead to premature peeling and poor adhesion.
How often should exterior wood be repainted?
The timeline depends on the type of wood, paint quality, sun exposure, moisture, and overall maintenance. Many exterior wood surfaces require repainting every 5 to 10 years, though high-exposure areas may need attention sooner.
Schedule a Professional Exterior Wood Painting Consultation
Every successful paint job begins with a detailed evaluation. Avon Professional House Painter assesses your wood surfaces, identifies prep requirements, and develops a project plan covering repairs, surface preparation, scheduling, and the finish you’re looking to achieve.